Textures, Color Droppers, and Painted Clouds: Getting More from ON1 Effects Than You Probably Realized

Textures, Color Droppers, and Painted Clouds: Getting More from ON1 Effects Than You Probably Realized

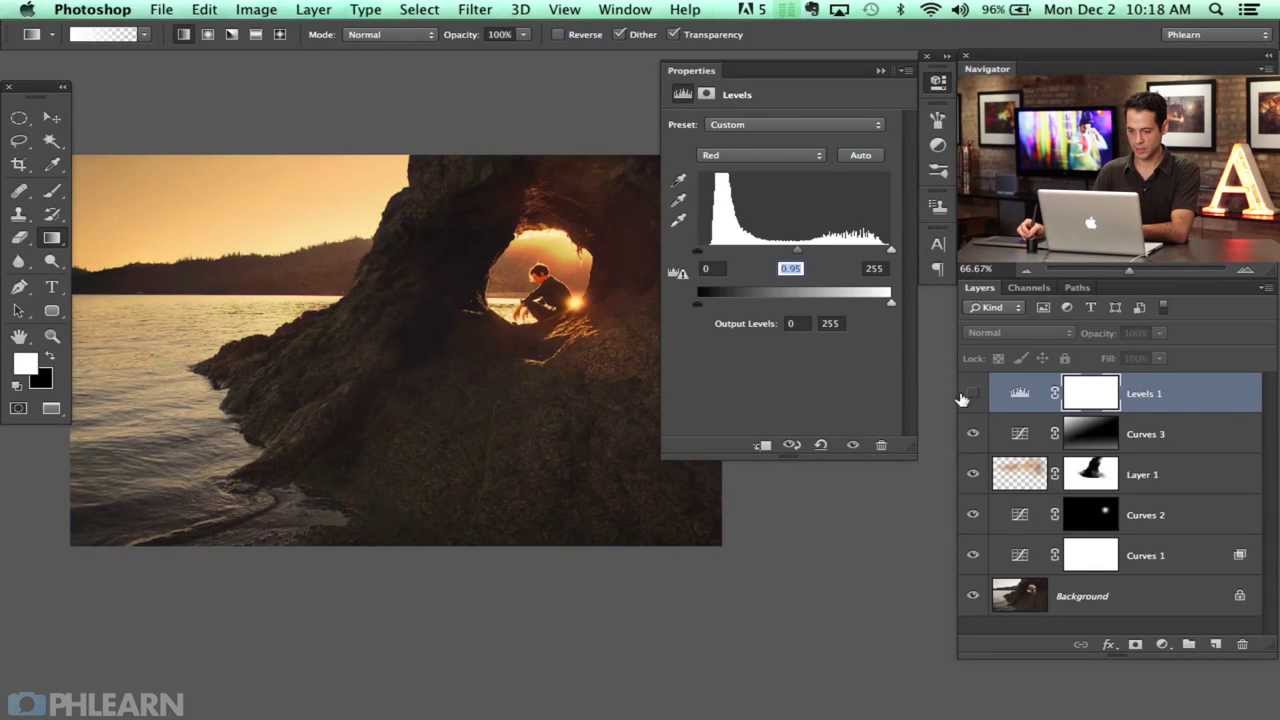
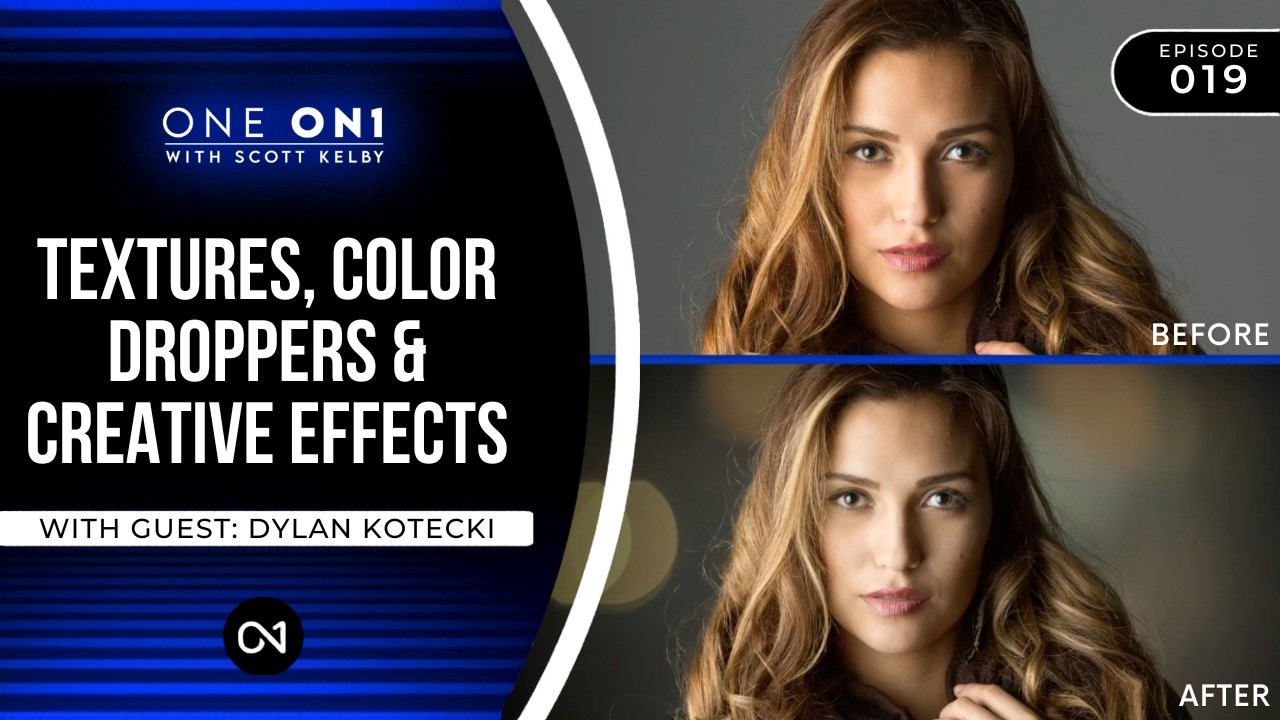
There’s a specific kind of client frustration I’ve learned to dread: the one where the photo is technically fine but just feels flat. Good light, clean skin, sharp focus, and somehow the whole thing still looks like a stock image nobody would ever buy. For a long time my answer was to go deeper into skin work, dodging and burning until the image had more dimension. What I wasn’t doing was thinking about the background, the atmosphere, the layer of creative texture that separates a polished portrait from one that actually has a mood.
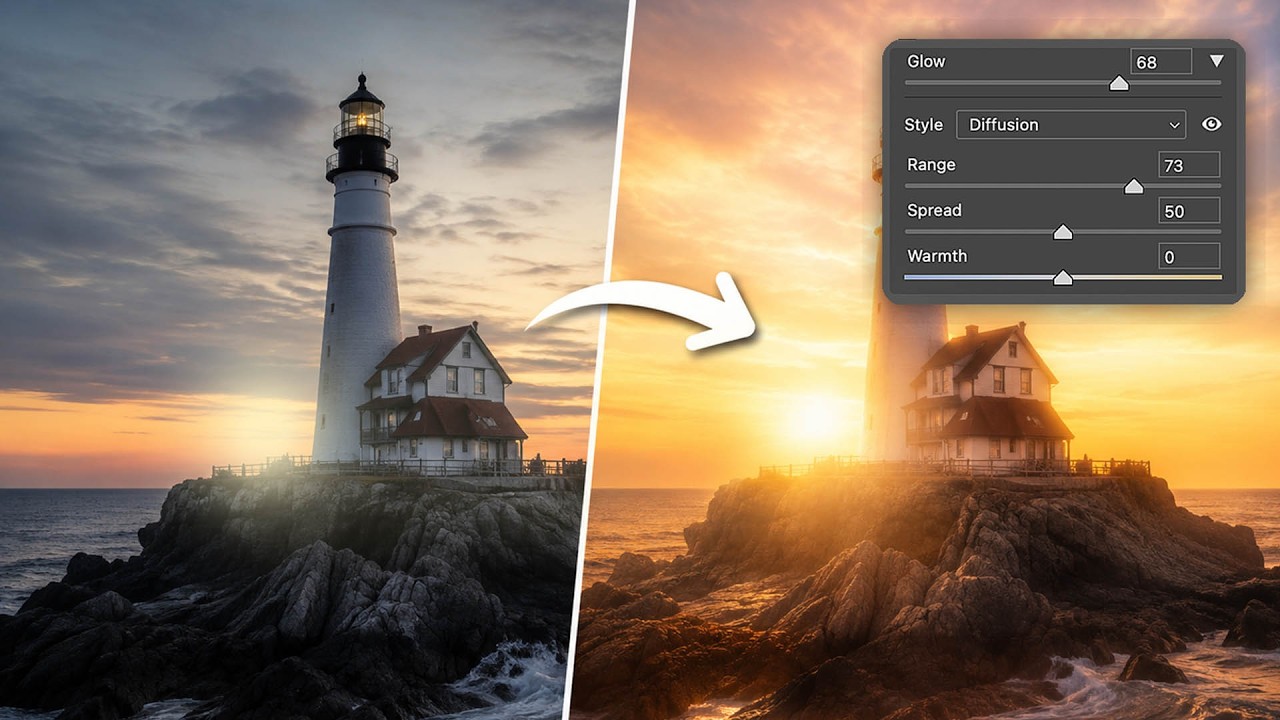
The Glow Effect Just Got Easier: A Step-by-Step Guide to Adobe Camera Raw's New Glow Tool

The Glow Effect Just Got Easier: A Step-by-Step Guide to Adobe Camera Raw's New Glow Tool

There’s a certain kind of soft luminosity in beauty photography that clients always ask for and can never quite describe. They’ll send a reference image and say something like “can you make it feel like that?” What they’re pointing at, nine times out of ten, is some version of the glow effect - that gentle, diffused light that makes skin look lit from within rather than just lit from outside. I’ve been chasing that look since my early retouching days, and for a long time it meant stacking duplicate layers, blurring them, changing blend modes, masking carefully, and hoping the whole thing held together when I flattened it.

How to Use Frequency Separation for Natural-Looking Skin Retouching (Jessica Kobeissi Breakdown)

How to Use Frequency Separation for Natural-Looking Skin Retouching (Jessica Kobeissi Breakdown)

There’s a specific kind of dread that comes with opening a portrait file and seeing uneven, blotchy skin tone staring back at you. Not blemishes, not texture problems, just that muddy patchwork of reds and pinks and shadows that makes an otherwise beautiful shot look like it was lit by a convenience store. Early in my retouching career, I tried to fix this kind of thing with the Spot Healing Brush and a prayer.

Color Dodge in Photoshop: A Cinematic Color Grading Technique Worth Adding to Your Workflow

Color Dodge in Photoshop: A Cinematic Color Grading Technique Worth Adding to Your Workflow

There’s a particular kind of portrait image that stops you mid-scroll. The light feels alive. The highlights glow with color rather than just blowing out to white. The shadows have personality. More often than not, that look comes from deliberate color work in post, not lucky golden hour lighting. For a long time, I chased that quality using the same handful of tools I’d been using since my wedding photography days, and the results were fine.

How to Paint Convincing Skin Texture in Photoshop (Even When There's Nothing Left to Work With)

How to Paint Convincing Skin Texture in Photoshop (Even When There's Nothing Left to Work With)

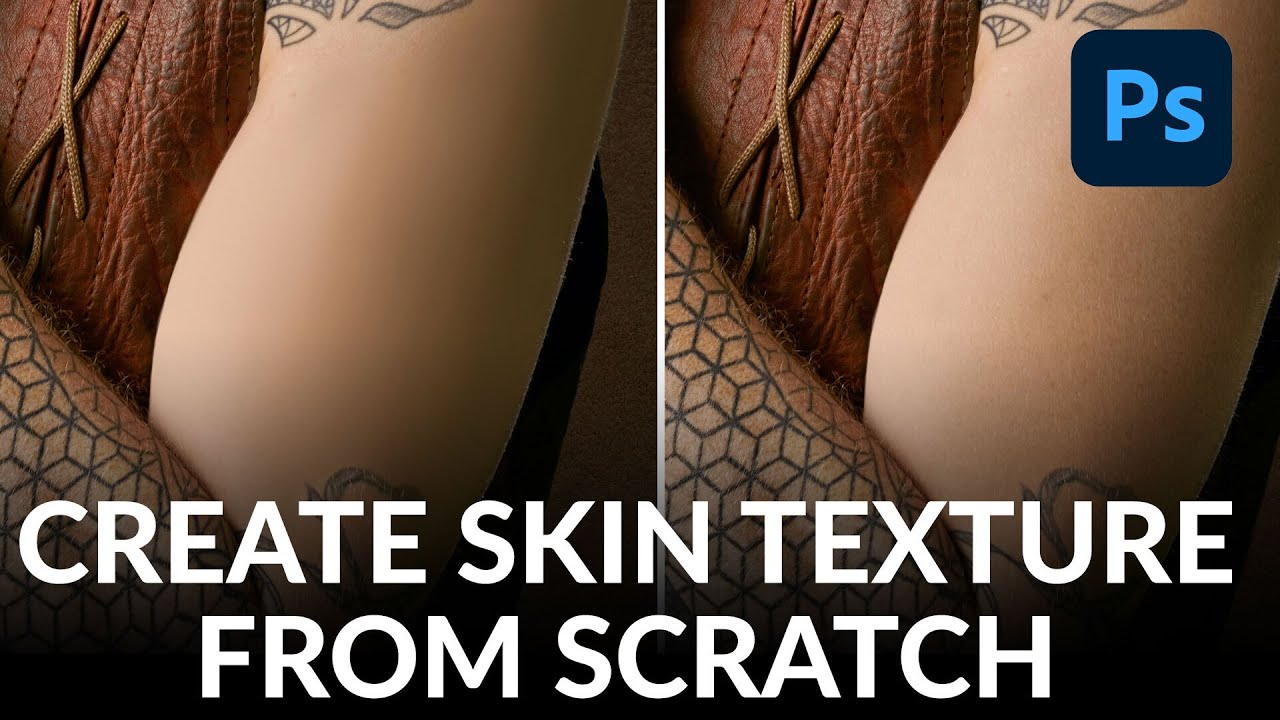
There is a specific kind of panic that sets in when a client asks you to remove a large tattoo and you realize the skin underneath is, essentially, gone. Not damaged, not blemished. Just… absent. Early in my retouching career, I would have reached for the Clone Stamp tool, crossed my fingers, and produced something that looked more like a blurry knee than a human forearm. These days, I build the skin from the ground up, and the results are dramatically better.

Why Honest Design Matters: Learning from Camera Craftsmanship for Beauty Editing

Why Honest Design Matters: Learning from Camera Craftsmanship for Beauty Editing

The Intersection of Form and Function I’ve been thinking a lot lately about what makes retouching feel right. We spend so much time in our editing software perfecting skin, smoothing lines, and enhancing features. But sometimes I wonder if we’re missing something fundamental about beauty itself. Recently, I came across a fascinating observation about vintage camera design. The most celebrated cameras in history weren’t designed to be beautiful—they were engineered to work.

How to Dodge and Burn Without Destroying Your File (The Non-Destructive Way)

How to Dodge and Burn Without Destroying Your File (The Non-Destructive Way)

Early in my retouching career, I burned through a portrait by painting directly on a duplicate layer with the actual Dodge and Burn tools. The highlights went gray, the shadows went muddy, and my client very politely told me the result looked “a little plastic.” She was being generous. The problem wasn’t my eye for light and shadow. It was that I had no way to go back and correct the intensity without starting over completely.

What Tyra Got Wrong About Skin Texture (And What It Means for How We Retouch)

What Tyra Got Wrong About Skin Texture (And What It Means for How We Retouch)

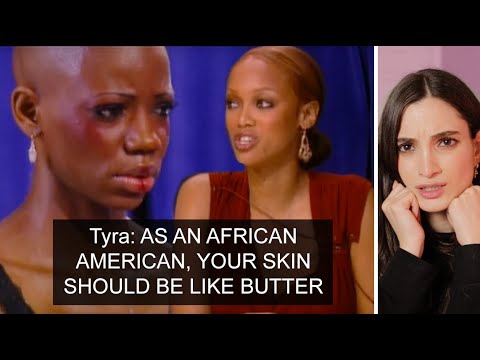
There’s a clip from the first cycle of America’s Next Top Model that has lived rent-free in my head since I stumbled across Jessica Kobeissi’s reaction video a few weeks ago. Tyra Banks tells a model, on camera, that her skin texture made the retoucher’s job the hardest of the entire shoot. The implication is clear: natural skin is a problem to be solved. I’ve been retouching beauty work long enough to know that this framing does real damage, not just to models on reality television, but to the everyday clients who come to photographers already convinced their skin needs to be erased before they can look good in a photo.

The Smarter Way to Dodge and Burn: Using Apply Image for Luminosity-Based Masks in Photoshop

The Smarter Way to Dodge and Burn: Using Apply Image for Luminosity-Based Masks in Photoshop

There’s a particular kind of frustration that comes from spending forty minutes hand-painting a dodge and burn layer, only to zoom out and realize the skin looks muddy, patchy, or just slightly wrong. I lived in that frustration for longer than I’d like to admit when I first transitioned from shooting weddings to doing beauty retouching full time. The problem wasn’t the concept. Dodging and burning is fundamental. The problem was that painting by hand means you’re guessing where the light and shadow fall, and skin doesn’t respond well to guesswork.

What 5 Fiverr Retouchers Taught Me About Skin Editing (And Where Each One Fell Short)

What 5 Fiverr Retouchers Taught Me About Skin Editing (And Where Each One Fell Short)

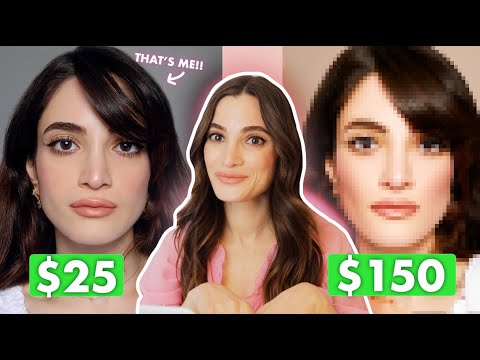
There’s a question I get in almost every workshop I teach: “How do I know when a retouch is actually good?” It’s harder to answer than it sounds. Good retouching is largely invisible, which means the easiest way to calibrate your eye is to study a range of results on the exact same image. That’s precisely why I keep coming back to this experiment from photographer Jessica Kobeissi, where she hired five Fiverr retouchers at price points ranging from about seven dollars to two hundred dollars, gave each one the same portrait with zero direction, and then reviewed the results cold.

What 5 Fiverr Retouchers Taught Me About the Art of Subtle Beauty Editing

What 5 Fiverr Retouchers Taught Me About the Art of Subtle Beauty Editing

One of the hardest things to explain to a new client is why a retouch that “does less” often costs more. Early in my retouching career, I lost a client because my edits looked, in her words, like a wax figure. She wasn’t wrong. I had smoothed everything, brightened everything, and in doing so erased the quiet details that made her face feel like a face. That experience sent me deep into studying how the best retouchers actually work, and what I keep coming back to is this: the goal is removal of distraction, not removal of humanity.

Soft Skin, Real Results: A Working Retoucher's Breakdown of Jessica Kobeissi's Portrait Workflow

Soft Skin, Real Results: A Working Retoucher's Breakdown of Jessica Kobeissi's Portrait Workflow

There’s a particular kind of client feedback that stays with you. Mine came early in my career, when someone looked at a beauty edit I’d spent three hours on and said the skin looked “like a wax figure.” I’d been heavy-handing my retouching without a solid workflow underneath it, and the result showed. What I needed was a structured approach to building a clean, flexible base before touching a single blemish.