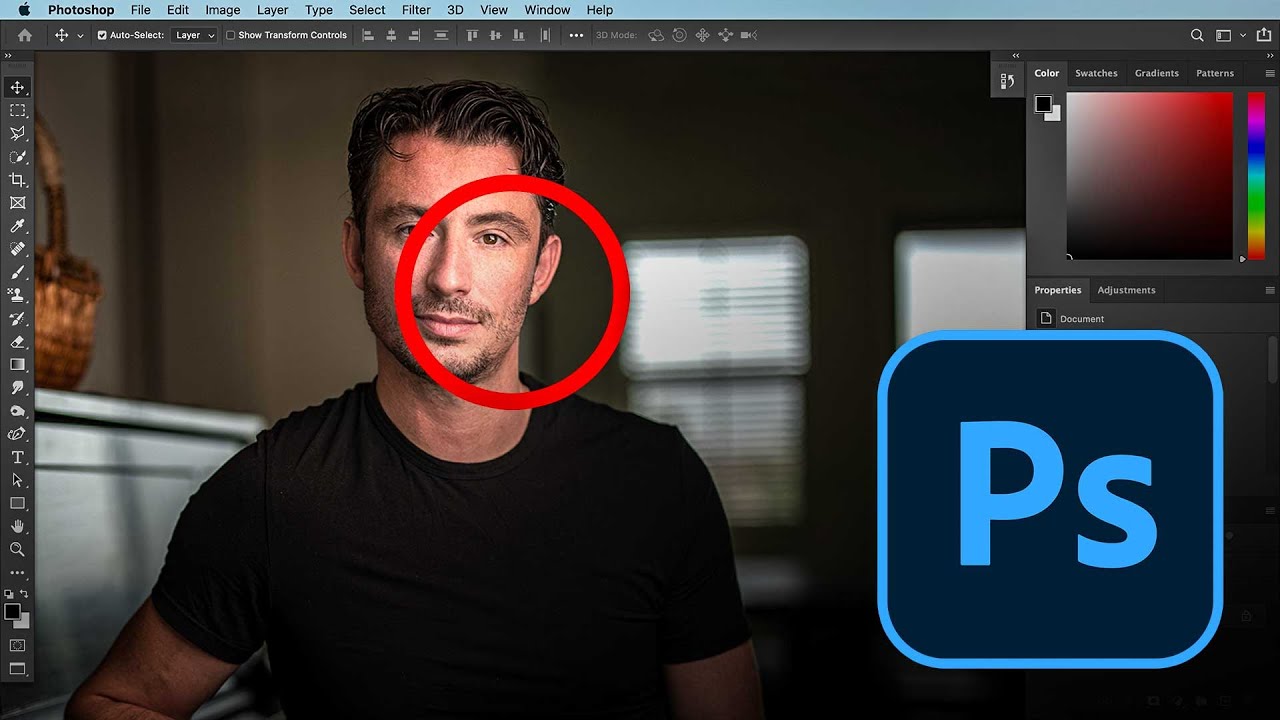
Retouching Techniques
Portrait Cleanup Before You Retouch: Why Your Starting File Is Half the Battle
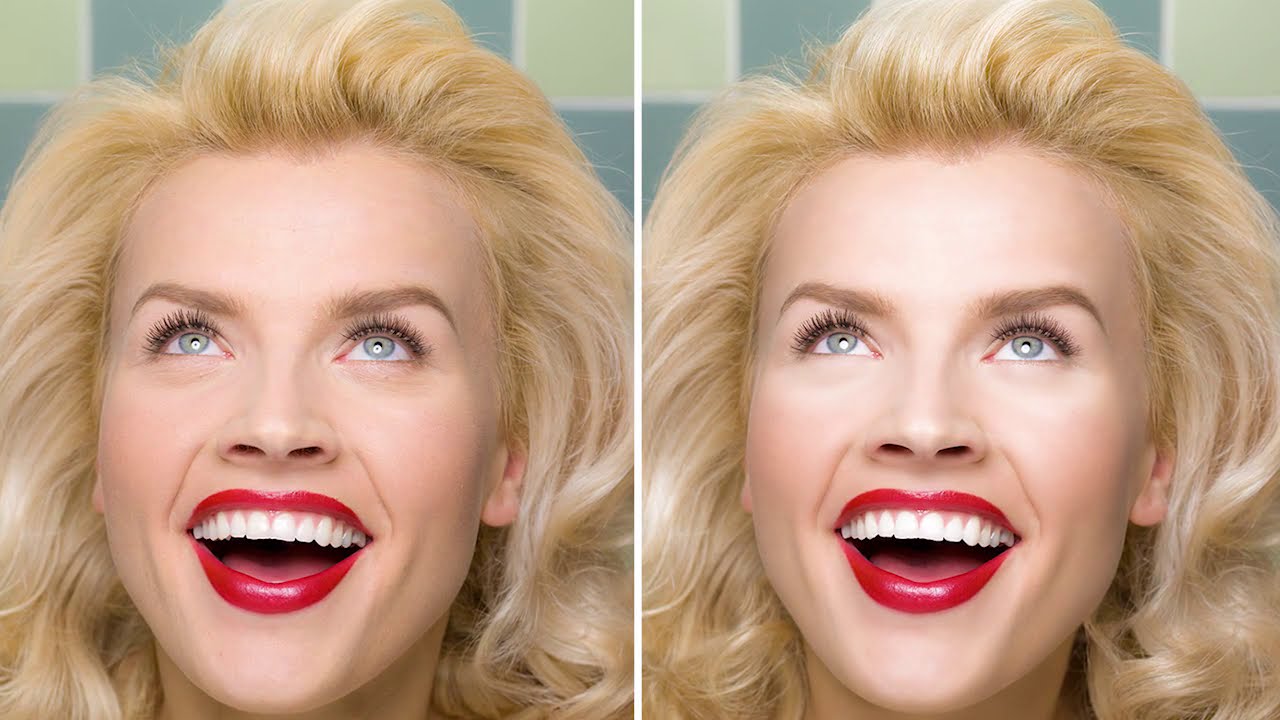
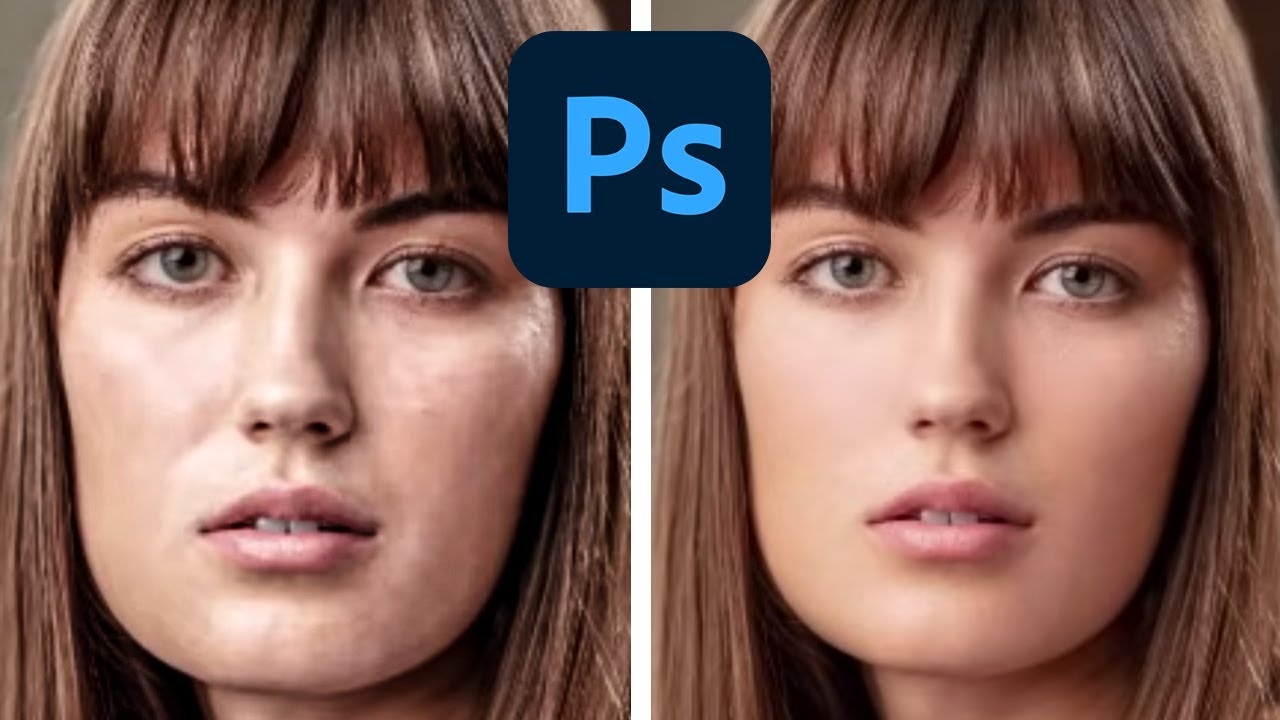
A few years into doing this work, I had a client send back a fully retouched beauty shot with a single line of feedback: “Can you fix the collar?” I zoomed out and there it was, a small wrinkle in the model’s shirt that I had somehow completely tuned out for the entire two hours I’d spent on her skin. I had gone straight into pore work and left a distracting wardrobe problem sitting right in the frame.